Inspection sequencing on a new build — pre-drywall, final, 11-month
A new home is not the same as a finished home. The three inspections that catch the most defects, in the order to do them.
"A new home doesn't need an inspection — it's brand new." Wrong, three times over.
Resale buyers know they need an inspection. New-build buyers often skip it because the home is, well, new. The problem is that "new" doesn't mean "perfect" — it means "built quickly by trades who are juggling multiple homes." Defects happen. The inspections that matter are the ones that catch them before they're buried in drywall or out of warranty.
Three inspections, in order.
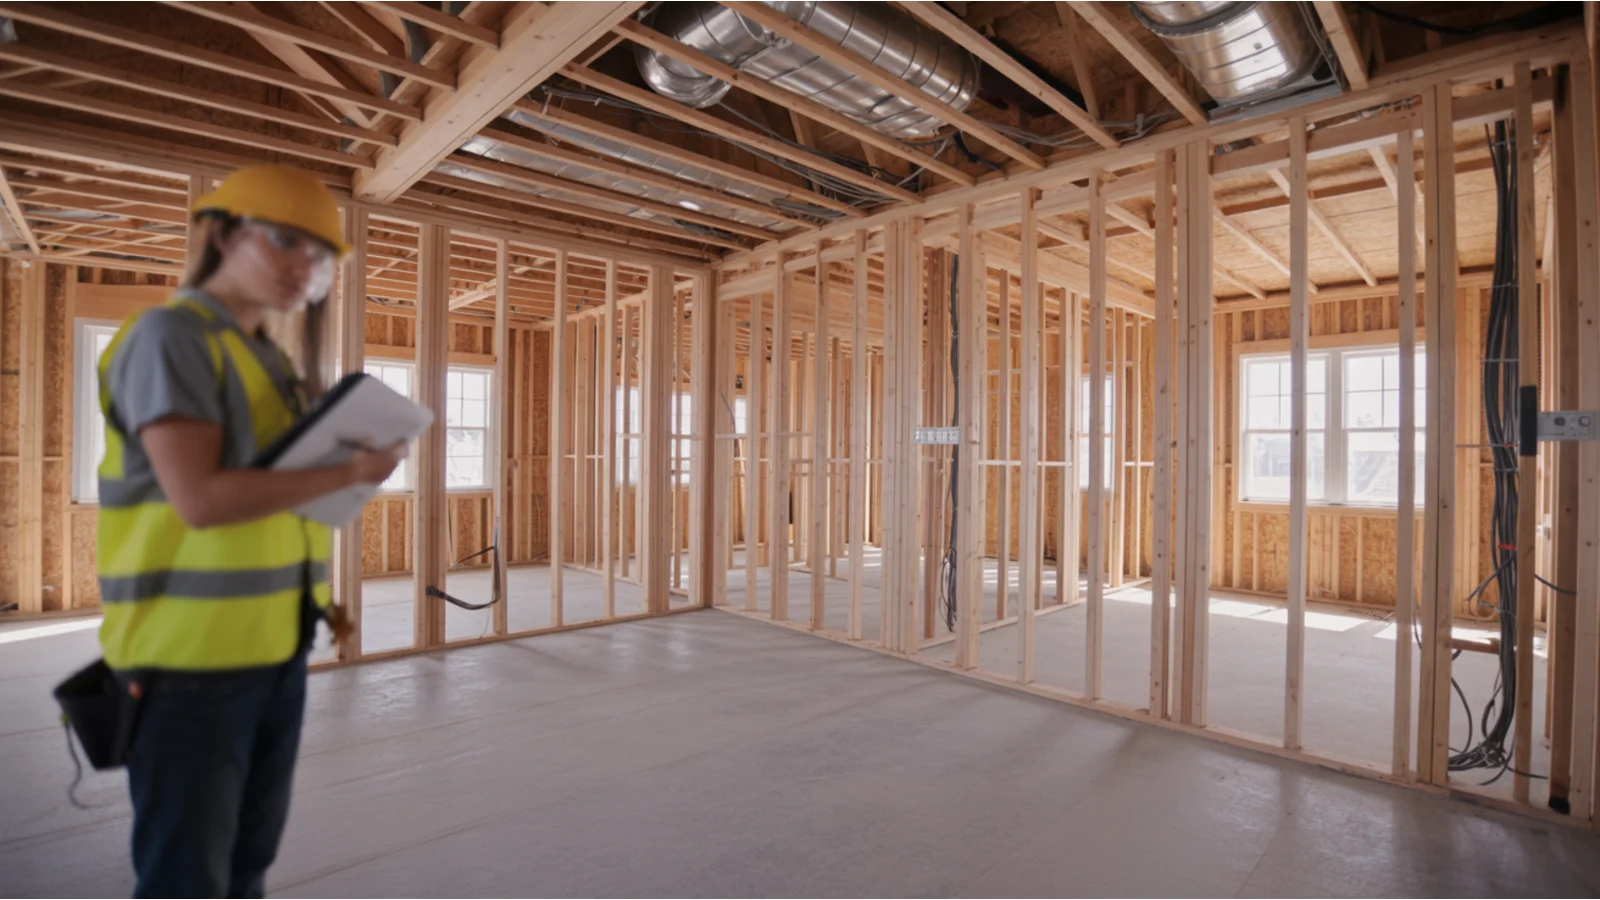
Inspection 1: pre-drywall
When: After framing and rough-ins (electrical, plumbing, HVAC), before insulation and drywall go up. The builder will give you a specific window — usually a week or less.
Why: This is the last moment to see inside the walls. Everything is visible: framing, vapor barrier, electrical wiring, plumbing runs, HVAC ducting, structural connections, sub-floor, header sizing, fire blocking. Once drywall goes up, all of it is hidden.
Who to hire: A licensed third-party home inspector with new-construction experience. Some builders will tell you their work is inspected by the city or county and doesn't need an outside inspector. The municipal inspection is a code-compliance inspection. It checks that the work meets minimum code. It does not check that the work meets a high standard or that it matches your specific plan.
What gets caught:
- Missing or undersized headers
- Plumbing vent issues that lead to slow drains years later
- HVAC ducting that's been crushed during framing
- Electrical wiring with the wrong gauge for the circuit
- Vapor barrier gaps that lead to moisture problems in the wall cavity
- Bath fan venting routed into the attic instead of through the roof (common!)
- Stair tread heights inconsistent across the run
Cost: $300–$600 typically.
Builder cooperation: Some builders welcome the third-party pre-drywall inspection. Some require advance scheduling. Some restrict access. Confirm at contract signing how the builder handles third-party pre-drywall inspections.
Inspection 2: final (pre-close) walk
When: Within a few days of close, after the builder's own final and after the home has been cleaned.
Why: Last check before you take possession. Cosmetic and functional issues are easier to address before you've signed the closing documents and the home is yours.
Who: Either the same third-party inspector who did the pre-drywall (best continuity) or a second specialist focused on finishes and systems. Kaz comes to this one with the buyer.
What gets caught:
- Paint defects (touch-ups, runs, missed areas)
- Drywall imperfections (visible seams, nail pops)
- Cabinet alignment and door swing
- Tile and grout work
- Floor transitions and squeaks
- Window operation and weather-stripping
- Door operation, especially the front door's threshold and weather seal
- HVAC operation in each room (set thermostat to extremes, verify each register)
- Plumbing fixture function (every faucet, every toilet, every drain)
- Outlet operation and ground-fault testing
- Appliance startup and operation
- Garage door operation, including auto-reverse safety
- Exterior caulking, especially around windows and at trim transitions
Cost: $300–$500 typically.
Output: A punch list submitted in writing to the builder. The builder typically agrees to address the punch list before or shortly after close. Some items will be deferred to the 11-month walk if the trades aren't available — that's normal.
Inspection 3: 11-month warranty walk
When: Month 11 of ownership, before the 1-year workmanship warranty expires.
Why: Year-one settling brings out defects that weren't visible at close. Drywall cracks, nail pops, grout cracks, floor squeaks, door rubs, paint touch-ups — all show up during the first year. The 11-month walk is the formal mechanism to capture them in writing while the workmanship warranty is still in force.
Who: A third-party inspector who specializes in warranty walks, or the same inspector who did the previous two inspections.
What gets caught:
- Settling cracks in drywall (corners, around windows, above doors)
- Nail pops along ceiling lines
- Floor squeaks that emerge after a year of HVAC cycling
- Grout cracking and tile movement
- Caulking failures (especially around windows and at exterior penetrations)
- Door and cabinet alignment shifts
- HVAC zoning balance issues that show up after a full heating-and-cooling cycle
- Roof issues — flashings, vent boots, gutter slope
- Foundation settling visible at perimeter (cracks under 1/8 inch are normal; wider warrants further investigation)
- Landscape and grading issues, if those are within the builder's warranty scope
Cost: $300–$500 typically.
Output: Warranty claim submitted to the builder, ideally with photographs and a punch list. Submit before the 1-year anniversary, not after — once the workmanship year closes, the builder's obligation narrows dramatically (see the 1-2-10 warranty post).
Why all three matter
Each inspection catches different categories of issue at the moment they're cheapest to fix:
- Pre-drywall catches structural and rough-in issues while they're still exposed.
- Final catches cosmetic and functional issues before close, when the builder still has full incentive to address them.
- 11-month catches settling and post-occupancy issues while the workmanship warranty is still active.
Skip the pre-drywall and you'll never know about the bath fan venting into the attic until the attic insulation gets soggy three winters later. Skip the final and you'll be chasing the builder's punch list crews for six months. Skip the 11-month and you're paying out of pocket for issues that the builder would have covered.
The total cost of all three runs around $1,000 to $1,500. Against a $700,000+ home purchase, this is rounding error.
Tour with Kaz
Get registered before your first visit so your representation is preserved.
Request a community tour